Integration with VersAccount
In this guide you will complete the following steps:
- Create your private key.
- Export SimplePay Data to VersAccounts.
- Setup VersAccount API
- Log In to your VersAccount, go to "Admin Screen".
- Under Enterprise Setup Menu, Click the "Client Applications".
- You will see SimplePay as published applications by VersAccounts.
- Click Enable button to generate Licence No.
- SimplePay will be enabled and Licence No. will be generated.
- Copy this Liscense No.
- Login to your Simpepay.ca Account and go to Add-Ons >> VersAccount >> Account Settings
- Load Account Settings Page from top right link.
- Paste the Liscense No. here and press Save button.
- Accounts created at VersAccounts will be available now in SimplePay Accounts Settings page.
- Select appropriate accounts against the required heads and press Save Settings button.


- Export SimplePay Data to VersAccounts
- Load Export data page Add-Ons >> VersAccount >> Export Data
You can export SimplePay data to VersAccounts by selecting pay period type and pay period end date/ date range.
Select Due date.
You can export Payroll records in following formats- Single Invoice for the pay period
- Separate Invoice for each employee in the pay period
- Invoice group by Expense Category for the pay period (Employees can be grouped in Expense Categories in Employee Setup page)
- Press Export to VersAccounts button
- SimplePay will send VersAccounts any transactions you've done.
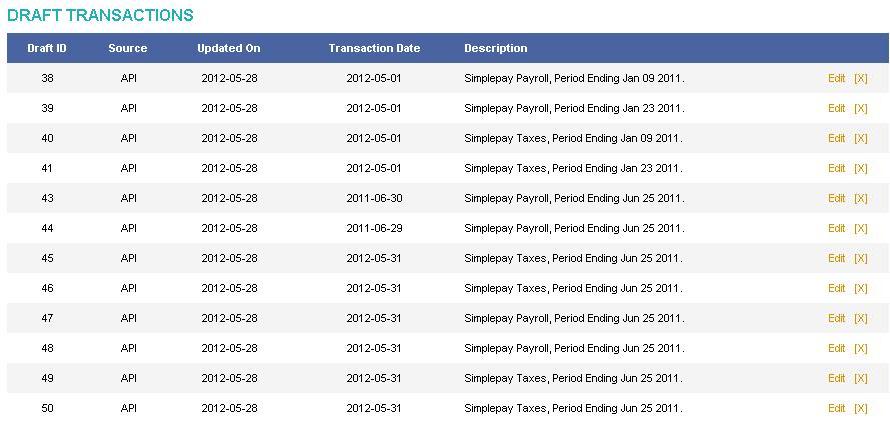
- Now the next time you log into VersAccounts, Click on Admin Screen,then go to menu options
General Ledger -> New G/L Entry -> Draft Transactions and you will see all Draft Transactions. - click on Edit link to view detailed transactions.

- Load Export data page Add-Ons >> VersAccount >> Export Data